
UV Lash Adhesive Troubleshooting: 7 Common Problems and How to Fix Them

If your UV adhesive isn't curing, your lashes are popping off at fills, or a client keeps saying "that stings," you want to know what's actually causing it, not a list of everything that could theoretically go wrong.
Here's the honest answer up front: in the support emails we get, the adhesive itself is the culprit far less often than people expect. Most UV lashing problems trace back to one of four things: not enough light reaching the bond, too much or too little adhesive, a bottle that's past its prime, or a habit carried over from traditional adhesive that doesn't translate.
This post walks through the seven problems we hear about most, with the likely cause, a quick test to confirm it, and the fix.
It's a refresh of our 2025 retention troubleshooting post, updated for the current Halo lineup, including Fuse, Bolt, and Hush, and for artists using the Halo Focus and Halo Tweeze lights.
Bookmark it. We'll keep it current.
1. Why isn't my UV adhesive curing fully?
What it looks like: The bond stays tacky after the light, the extension slides, or you see a white frosting at the base.
Likely causes: The light isn't reaching the bond because a hand, tweezer, or even the extension itself is casting a shadow. The light may not be held for the full cure time, the adhesive and light may not be matched on wavelength, or the light may not be getting full power.
Quick test: Put a small dot of adhesive on a piece of tape or foil and cure it under your light at your normal working distance.
Fresh adhesive under a compatible light should go firm and tack-free within a few seconds. Remember, a dot is much thicker than the amount of adhesive used on an actual lash bond, so give it longer than the label cure time.
If it cures on the tape but not on the lash, the problem is probably your positioning. If it won't cure on the tape either, keep reading.
Fixes:
- Check the beam path: The light has to hit the base of the extension, not your knuckles. With a stand light, watch where the glow actually lands during the cure. With Halo Tweeze, make sure the module is aimed at the bond and not the tips.
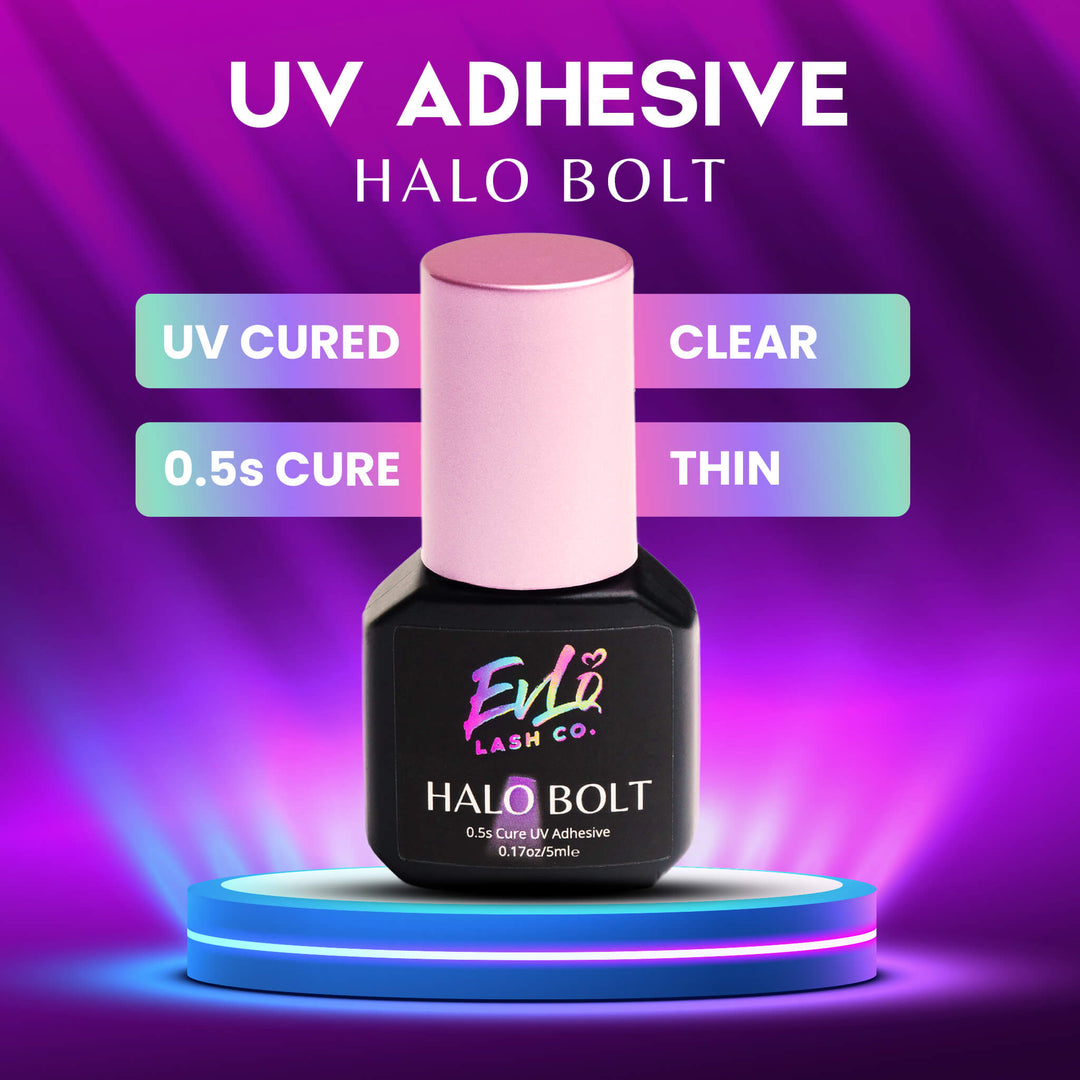
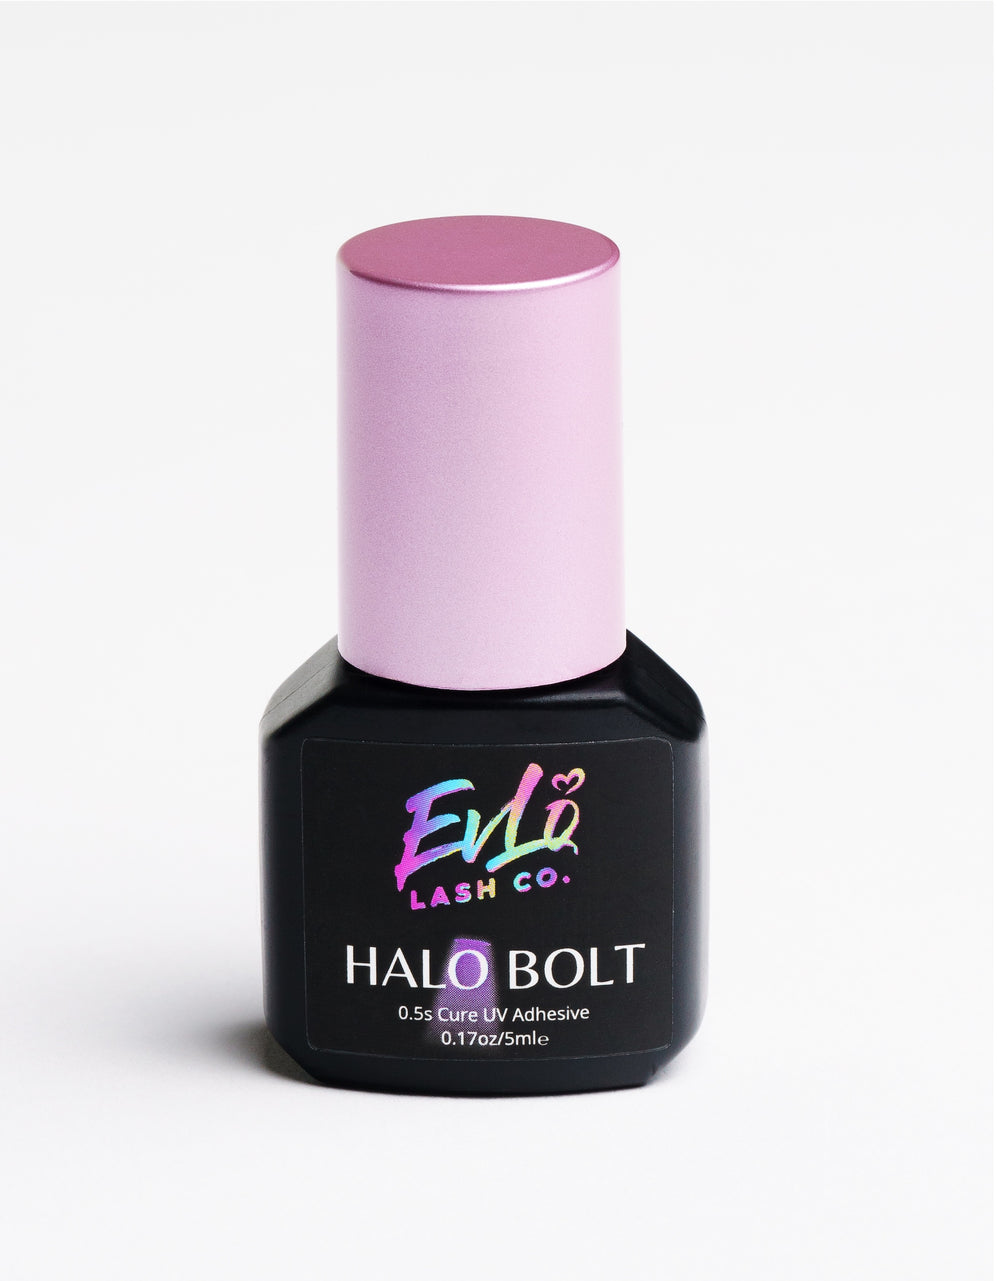
- Hold for the full cure time: Fuse is 0.3 seconds, Bolt is 0.5 seconds, and Hush is 2 seconds. Those are minimum cure times under a properly positioned light. Rushing Hush like it's Bolt is a common one.
- Match the wavelength: Halo adhesives cure at 395 to 405 nm and Halo lights are built for that range. If you're mixing brands, confirm the adhesive manufacturer's stated wavelength range. An adhesive designed around a different wavelength may cure more slowly, incompletely, or unpredictably under a 395 to 405 nm light, even if it appears cured on the surface. Our post on which UV adhesives work with our lights explains how to check.
- Use the included power block: Halo lights are designed for a specific output of 5 V, 1 A. Running one off a random phone charger or an incompatible power source can affect performance or potentially damage the device.
2. Why are lashes popping off at fills?
What it looks like: The set looks great leaving the chair, then the client is back in two or three weeks with noticeably fewer lashes, often with extensions coming off cleanly and the cured adhesive still attached.
Likely causes: The natural lash wasn't clean enough for the adhesive to grab, the extension was placed on top of the lash with too little contact, the fan was too heavy for the natural lash, or the adhesive began setting before you placed it.
Quick test: Look at the lashes that came off.
If the extension has a clean little bead of cured adhesive still attached and nothing else, the bond probably never held well to the natural lash. That points you toward prep or contact.
If you're seeing natural lashes attached to the extensions, that's shedding or potentially a weight issue, not adhesive failure.
Fixes:
- Prep like it matters: UV curing makes your cure time far less dependent on room humidity, but oil, makeup, moisture, and protein buildup can still interfere with the bond. Lash wash every client. For heavier buildup, a deeper clean with saline or hypochlorous acid may help before you begin. We wrote about why we switched to hypochlorous acid here.
- More contact, less adhesive: Try placing under the natural lash instead of directly on top. Before you cure, you can brush the extension gently up and down the natural lash about a millimeter so the adhesive spreads through the contact area. Then cure.
- Cure right after placing: Cyanoacrylate can still begin reacting with moisture in the environment before you activate your UV light. If you dip and then spend several seconds hunting for the right lash, the outside of the adhesive can begin changing before placement. Keep your rhythm tight: isolate, dip, place, cure.
- Check fan weight: If a fan is too heavy for the natural lash, adhesive isn't going to solve the problem. That's a lash health and dimension question, not a retention question.
3. Why am I getting stickies with UV adhesive?
What it looks like: Two or more extensions, or an extension and a neighboring natural lash, end up glued together.
Likely causes: Too much adhesive on the extension, isolation slipping before the cure, or a neighboring lash touching the wet bond before or during curing.
UV makes stickies a little different from traditional adhesive because once you activate the light, that bond is set. You don't have the same dry-time window to go back and separate it afterward.
Quick test: Dip and look at the adhesive before you place.
If there's a visible bead hanging off the base rather than a thin coating through the attachment area, you're probably using too much.
Fixes:
- Dip shallower: About 2 mm into the adhesive is usually plenty. If you have a large bead hanging from the base, adjust your dip before placing.
- Cure with isolation still in place: Don't release your isolation tweezer until the light has done its job. This is where a foot pedal earns its keep.
- Cure as you place: UV gives you control over exactly when the bond sets, so use it. Place the extension, maintain isolation, cure, then move on. Leaving multiple wet bonds uncured gives neighboring lashes more opportunity to move into them.
4. Why is my client feeling stinging or sensitivity?
What it looks like: The client reports stinging, burning, warmth, watery eyes, or sensitivity to the light during the set.
Eyelid fluttering, squeezing, tensing, or repeatedly reacting every time the light activates can be the nonverbal version.
Likely causes: The eyes aren't fully closed, a pad or piece of tape has shifted, something is pulling the eyelid open, the light is closer than its recommended working distance, adhesive vapor is contributing to irritation, too much adhesive is being used, or the client may have an individual sensitivity.
Quick test: Stop and ask.
I like something neutral such as, "How are you feeling? Everything comfortable?"
Then check the basics in order. Are the lids fully closed and relaxed? Is the pad still where you placed it? Is anything pulling the eyelid? Is your light at the recommended working distance?
Remember, you cannot feel what your client feels. I like to tell clients at the beginning of the appointment not to tough anything out. If something feels uncomfortable, I want them to tell me.
But not every client will speak up, which is why watching those nonverbal cues matters too.
Fixes:
- Full closure, every time: A lid that's fluttering open even a sliver can create a problem. Re-seat the pad if needed, let the client relax the eye, confirm full closure, and only then continue.
- Respect the working distance: Photobiological safety testing is performed at a specific distance. Changing that distance changes the amount of light reaching the client. Our post on distance, exposure, and UV light safety explains why working distance matters.
- Look at your adhesive amount and formula: If adhesive vapor appears to be contributing to stinging or watery eyes, using less adhesive and trying a lower-cyanoacrylate formula may help reduce cyanoacrylate exposure. Bolt is 90% cyanoacrylate, Fuse is 80%, and Hush is 75%. That does not mean a lower percentage makes an adhesive allergy-proof or appropriate for every sensitive client. Individual sensitivity can still occur with any cyanoacrylate adhesive.
- Know when it's no longer a technique problem: Symptoms that persist, worsen, or develop after the appointment are no longer something I would troubleshoot as a simple application issue. At that point, the client should contact an appropriate healthcare professional. Our post on allergic reactions vs. irritations goes deeper into the differences. We can help troubleshoot the product and technique, but we're not medical professionals and can't diagnose a reaction.
5. Why is adhesive curing on my tweezer?
What it looks like: You start noticing small spots or a crust of cured adhesive building up on your application tweezer, especially around the tips or lower part of the tweezer.
Likely causes: Most UV lash adhesives are clear, and that can take some getting used to if you're used to working with black adhesive. A tiny amount of clear adhesive can get onto your tweezer during dipping, pickup, or placement without you even realizing it's there.
Once that adhesive is on the tweezer, your UV light can cure it right along with the lash bond.
This is something I pay particular attention to with stand lights because the beam is wider. The bond may be in the center of the beam, but part of your application tweezer can still be catching light without you realizing it.
Hue is easier to spot because it has color, but with clear adhesives like Fuse, Bolt, and Hush, you may not notice that tiny bit of adhesive on your tweezer until it has already been cured onto the metal.
Quick test: Take a close look at your application tweezer throughout your next set, especially immediately after dipping and placement.
You may be surprised by how easy it is to pick up a tiny amount of clear adhesive without seeing it.
Also pay attention to the entire width of your light beam when you cure. Don't just look at where the center of the beam is landing. Is your application tweezer inside part of that beam too?
Fixes:
- Check your tweezer often: Clear adhesive can be hard to see. Get into the habit of looking closely at your application tweezer throughout the service instead of waiting until you can feel buildup affecting your grip.
- Watch your dip and placement: The extension should enter the adhesive drop without your tweezer touching it. Also pay attention to whether your tweezer is accidentally contacting the wet adhesive at the attachment point during placement.
- Pay attention to the whole beam: With a stand light, don't just look at whether the center of the beam is hitting the bond. Pay attention to the width of the light around it too. Your application tweezer may be getting UV exposure at the same time.
- Remove adhesive before it cures: If you notice adhesive on your tweezer, clean it off before activating the light again. Once UV adhesive cures onto the metal, it's much harder to remove.
- Clean your tweezers regularly: Use an appropriate lash adhesive remover according to its directions, then clean and dry the tweezer thoroughly. Cured buildup can change how the tips close and grip, which can eventually affect pickup and application.
6. Why is the cure uneven across the set?
What it looks like: The center of the set holds beautifully, but the inner or outer corners shed early. Or one eye consistently outperforms the other.
Likely causes: The light isn't reaching every zone equally.
With a stand light, this is usually related to the angle of the light head relative to the lash line.
With Halo Tweeze, it can be your hand angle in the corners.
Sometimes the problem isn't the light itself. It is the angle of the client's head. If the outer corner is turned away from your light source, the bond can be harder to hit directly even though the center of the lash line is curing perfectly.
An inconsistent pedal or electrical connection can also cause some cures to be shorter than you realize.
Quick test: Use a practice strip or mannequin and place lashes along a curve similar to the lash line. Watch where the beam lands as you move from the center into the corners.
On a client, also look at how the lash line is positioned relative to your light. If you're having to twist your wrist, stretch across the client, or dramatically reposition the light just to reach an outer corner, try turning the client's head slightly.
Sometimes that small change gives you a much clearer path to the bond.
You can also activate your pedal repeatedly and watch for flickering, delayed activation, or inconsistent output.
Fixes:
- Re-aim for the corners: With a stand light, adjust the head so the beam reaches the actual bond rather than staying centered over the middle of the lash line. With Tweeze, you may need to change your hand angle in the inner and outer corners so the light has a clear path to the base.
- Move the client's head: Your client's head does not have to stay perfectly straight for the entire appointment. Gently turning their head can bring the inner or outer corner into a much better position for both application and curing. Sometimes moving the client is easier than trying to force yourself or the light into an awkward angle.
- Check what is blocking the light: Your hand, tweezer, the extension itself, or the shape and angle of the eye area can all affect the beam path in the corners. Make sure the bond itself is actually receiving the light, not just the general area around it.
- Check the pedal and connection: Press the pedal several times and watch for flickering, delayed activation, or inconsistent output. An intermittent connection can shorten individual cures without being immediately obvious. If you're seeing that behavior, contact us so we can help determine whether the pedal or another component is the issue. Our all-metal Halo Foot Pedal 2.0 is also available as a replacement option.
- Don't swing away early: Hold the beam on the bond for the full cure time in the corners too. It's easy to rush those last few lashes of a set.
7. Why does the cure feel slower than the label says?
What it looks like: The label says 0.5 seconds, but you're holding the light longer and the adhesive still doesn't seem fully cured.
Likely causes: The bottle may be aging or may have been exposed to heat or light. You may be using too much adhesive. The light may not be delivering its expected output, or the adhesive and light may not be compatible.
Quick test: Go back to the dot test from problem one.
If you have a fresh bottle available, compare the two under the same light, at the same distance, using approximately the same amount of adhesive.
If the fresh bottle cures normally and your working bottle doesn't, that tells you something.
If both are curing slowly, start looking at the light, distance, power source, and compatibility instead.
Fixes:
- Replace on schedule: Halo adhesives are formulated for 3 months after opening and 12 months unopened. Write the open date directly on the bottle. If the cure slows or the texture changes significantly before that point, heat, light, moisture exposure, or storage conditions may have shortened its usable life.
- Use a smaller amount: The thin layer used on an actual lash bond cures much faster than a large dot or bead. More adhesive requires more light to cure through it.
- Buy for your volume: If you're not going through a bottle within the recommended open period, buying fewer at a time may make more sense. Unopened, vacuum-sealed bottles can be refrigerated to extend shelf life. Opened bottles should not be moved back and forth between cold storage and room temperature.
Pro Tip: Troubleshoot like an experiment
The biggest troubleshooting mistake I see is changing everything at once.
New adhesive. Different prep. Closer light. More adhesive. Less adhesive. Different placement.
Then retention gets better and you have absolutely no idea which change fixed it.
Troubleshoot like an experiment.
Start with the most likely cause. Change one variable. See what happens.
If your dot test passes, don't immediately throw away your adhesive.
If your center retention is great but your outer corners aren't, start with light angle or head position before changing your entire prep routine.
If one client is having an issue and everyone else is retaining beautifully, look at what's different about that client before assuming the whole system stopped working.
Changing one thing at a time doesn't just help you solve the problem. It helps you understand why it happened so you know what to do the next time.
When it really is the adhesive
Sometimes it is the bottle.
Adhesive that's thick, stringy, unusually cloudy, or repeatedly fails a dot test under a light you've already confirmed is working may no longer be performing as intended, whether from age, heat, light exposure, storage, or another issue.
Our "has my UV glue gone bad?" post goes deeper into the chemistry.
And if you've gone through all of this and something still isn't adding up, email us.
We'd rather help you figure out what's actually happening than have you quietly decide UV doesn't work for you.
The Short Version
Most UV troubleshooting comes back to the same few things: light reaching the bond, the right amount of adhesive, a fresh bottle, good contact, and habits that actually make sense for UV lashing.
Run the dot test first. Check your light path. Change one variable at a time.
And when a client tells you something doesn't feel right, or their body language tells you before they do, stop and check.


Leave a comment