What You Need to Start UV Lashing (or Switch From Traditional Adhesive)

Featuring the Halo UV Light and Halo Focus UV Light
UV lashing is transforming the lash industry by offering instant curing, cleaner work, stronger bonds, and less irritation for clients. If you are ready to get started or to switch from traditional adhesive, this guide explains exactly what you need and why.
Everything here is tailored to the Halo UV Light and the Halo Focus UV Light, which have undergone independent testing showing no photobiology risk when used as intended.
Why UV Lashing Is Different
Traditional lash adhesives cure using moisture. This means your retention and speed depend on humidity, temperature, client sensitivities, drying time, and even seasonal conditions.
UV lashing changes everything.
The Halo UV Light and Halo Focus UV Light cure adhesive instantly, which gives you consistent performance in any climate, immediate bond strength, fewer vapors during application, less irritation for sensitive clients, and a faster, cleaner workflow.
Because the curing method is different, UV lashing requires specific tools starting with the right UV unit and a UV curable adhesive.
What You Need to Start UV Lashing
1. A Professional UV Lash Light (Halo or Halo Focus)
Your UV light is the core of your setup.
The Halo UV Light and Halo Focus UV Light are ergonomically designed for lash artists and engineered specifically for closed eye curing. Both units have been independently tested and confirmed to have no photobiology risk when used correctly. They are calibrated to be used safely at their recommended working distances. The Halo UV Light is used at about 8 inches from the closed eye. The Halo Focus UV Light is used at about 14 inches.
These distances are intentional design features that support the safety profile of each unit.
Generic UV flashlights, nail lamps, and devices not engineered for eyelash services should not be used near the eye.
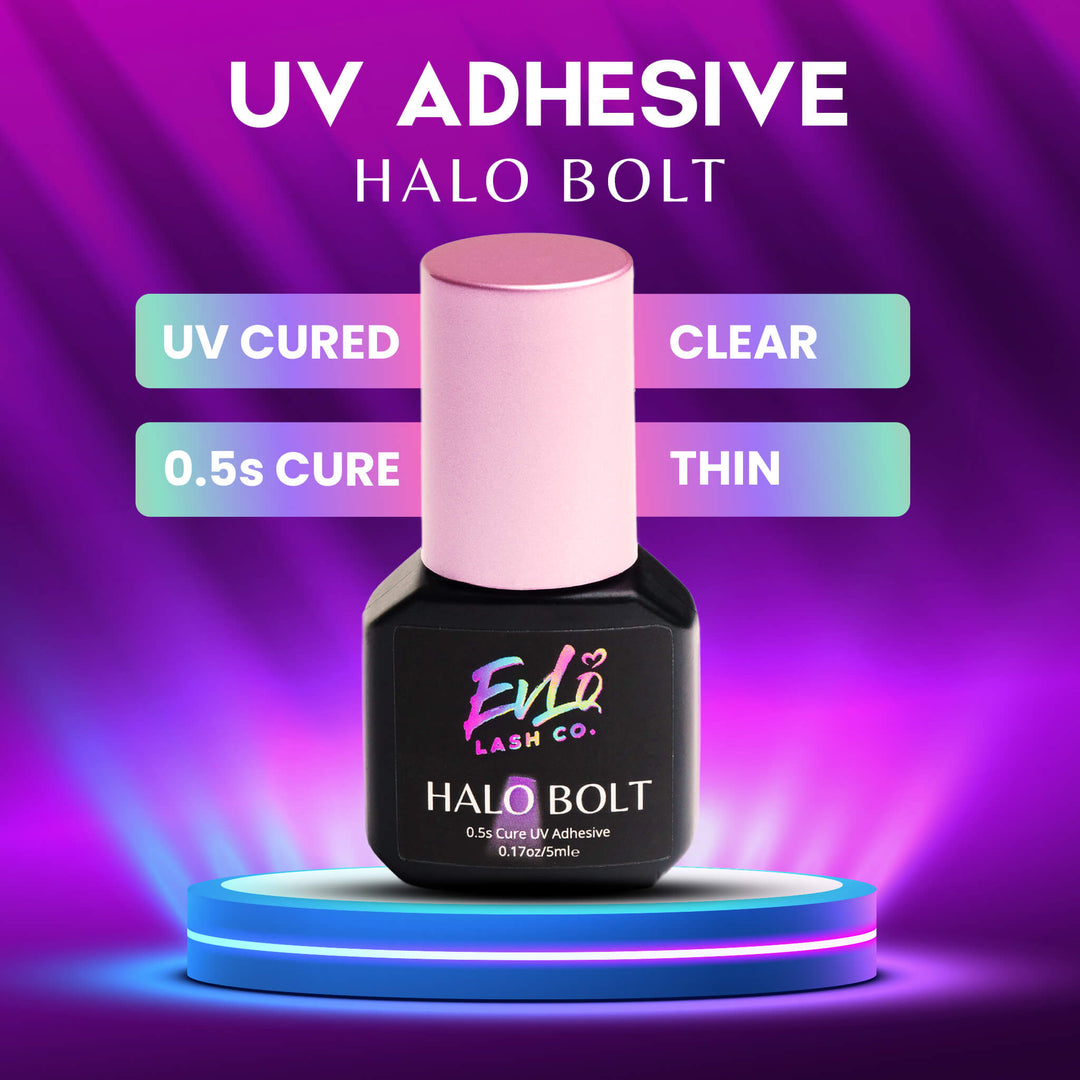
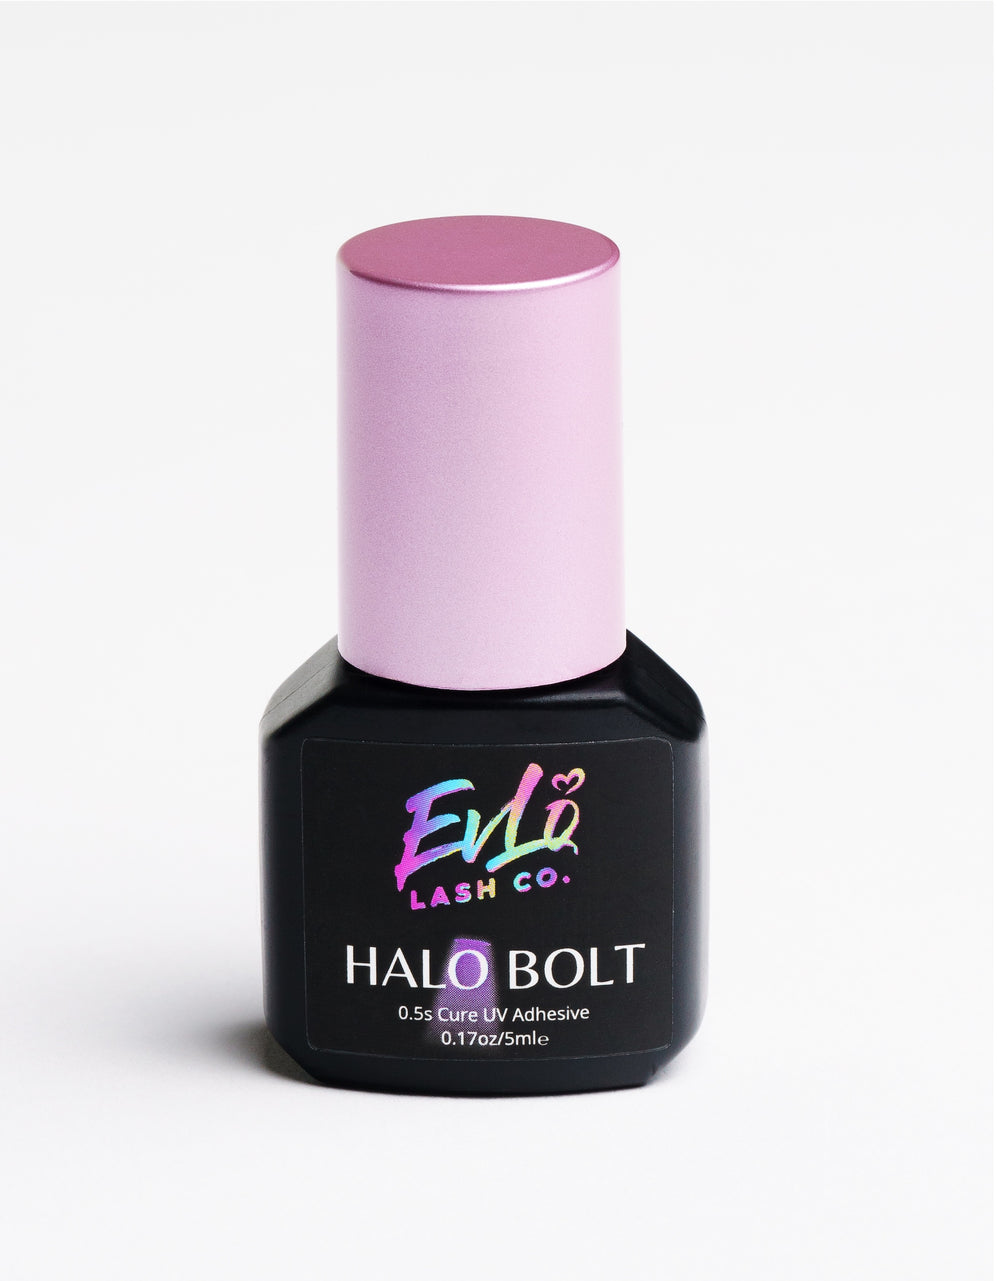
2. A UV Compatible Adhesive
UV curing requires adhesive that contains a photoinitiator. The Halo UV adhesives, Halo Bolt, Halo Onyx, and others, use a modern photoinitiator with a favorable safety and performance profile.
Traditional lash adhesive will not cure under UV light. Your adhesive must be formulated for UV activation with the correct photoinitiator and a stable formula that cures properly under the Halo system.
All of the Halo line of adhesives meet these requirements.
3. UV Protective Eyewear or Eye Pads (Optional Based on Comfort)
Some lash brands claim that protective eyewear is mandatory, but this does not apply to the Halo UV Light or the Halo Focus UV Light.
Both systems have been independently tested and show no photobiology risk when used on a closed eye at the recommended working distance.
Because the light is directed toward a closed eyelid and operates within safe limits, extra protection such as eye pads or glasses is optional and primarily comfort based rather than safety based.
Eyewear or pads are helpful for:
- Clients who are sensitive to brightness
- Lash artists who get headaches from overhead lighting
- Anyone who prefers additional comfort
These options enhance comfort but are not required for safe use of the Halo or Halo Focus systems.
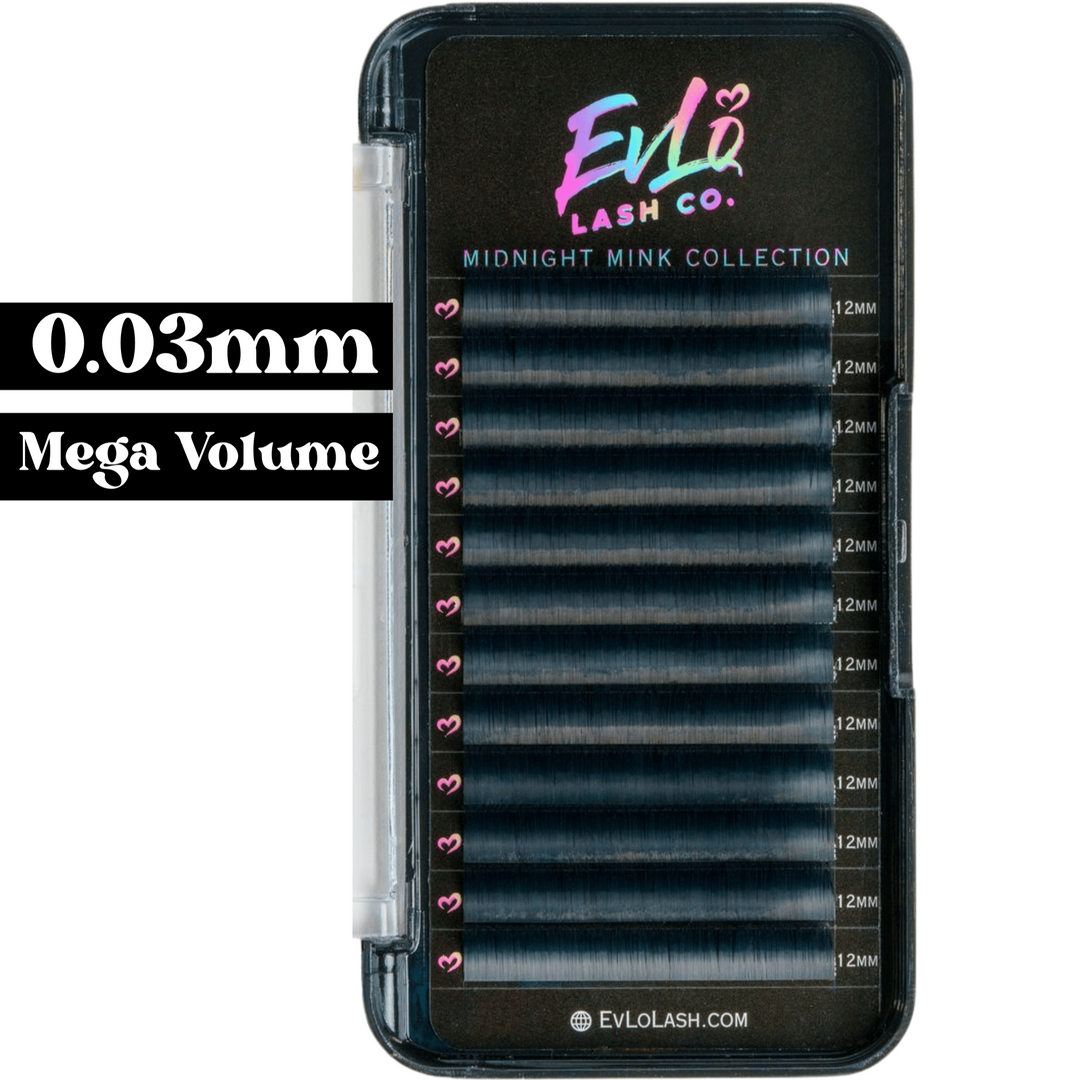
4. Your Standard Lash Tools
You will continue using the same tools you already rely on:
- Isolation tweezers
- Placement tweezers
- Lash trays
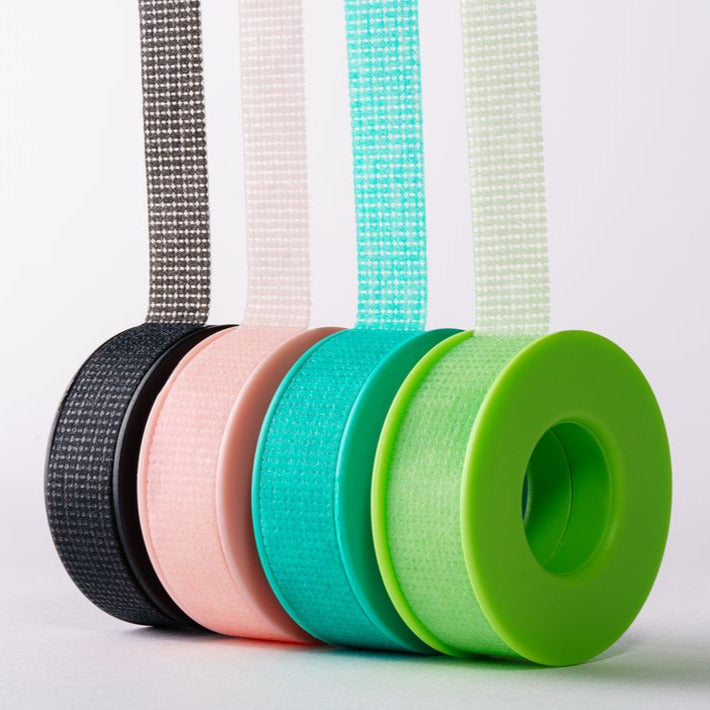
- Pads or tape
- Lash brushes
Primers and chemical lash removers can also be used because UV lash adhesive is still cyanoacrylate based.
If any lashes, tweezers, or accessories are labeled “UV,” it is simply a marketing tactic. You do not need UV specific tools. The only UV component you need is the UV light paired with the UV curable adhesive. Everything else is personal preference and can remain exactly the same.
The technique remains the same.
5. Lash Isolation and Placement Skills
Your lash skills do not change. Only the curing method does.
You still isolate, dip, and place. The difference is in how you cure the adhesive. Instead of waiting for the adhesive to grab, you hold the extension in place and cure instantly with the Halo or Halo Focus.
This gives you zero stickies, cleaner bases, faster appointments, and immediate bond security.
6. A Short Adjustment Period
Most artists adjust fully within one to three days.
You will quickly learn:
- How much adhesive to pick up
- How instant curing affects your flow
- How to position the UV light
- The timing and rhythm of UV curing
The transition feels natural after your first few sets.
How to Switch From Traditional to UV Lashing
Step 1: Start With the Halo System
Gather your Halo UV Light or Halo Focus UV Light, UV curable adhesive such as Bolt or Onyx, and optional comfort eyewear or pads.
Step 2: Practice on a Mannequin
This helps you understand placement timing, curing speed, and correct distance.
Step 3: Try One Live Model
Choose a relaxed client or friend.
You will immediately notice less irritation, no waiting time, no stickies, and a smoother experience overall.
Step 4: Introduce It to Sensitive Clients
They often notice reduced burning, fewer vapors, and less watering during the service.
Step 5: Transition Your Book
Some artists switch their full clientele within a week while others take one to two months. Either approach works well.
Final Thoughts
To start UV lashing with confidence you only need:
- Halo UV Light or Halo Focus UV Light
- UV curable adhesive such as our Halo line of UV adhesives
- Optional eyewear or pads for comfort
- Your existing lash skills
- A short adjustment period
Because the Halo systems have independent testing confirming no photobiology risk, you can offer UV lashing with complete clarity and confidence knowing your system is engineered specifically for safe closed eye use.


Leave a comment