Traditional Lashing Supplies vs. UV Lashing Supplies: What You Really Need

If you’ve ever felt like your lash setup looks more like a science lab than a beauty service… you’re not alone.
Traditional lashing relies heavily on environmental conditions, which means lash artists often accumulate a lot of products just to keep their adhesive behaving. UV lashing, on the other hand, dramatically simplifies the setup.
Let’s break down what you actually need for each method — and why the lists look so different.
What You Need for Traditional Lashing
Traditional lash adhesive cures through moisture in the air, not instantly. Because of that, artists must carefully control and “support” the curing process.
1. Primer
Used to remove oils and residue from natural lashes so adhesive can bond properly. Helpful, but overuse can cause dryness or irritation.
2. Bonder
Applied after lashing to help speed up curing and reduce fumes. Often used to compensate for less-than-ideal humidity or slow curing glue.
3. Hygrometer
Measures temperature and humidity in the room. Essential because traditional adhesive performance changes constantly with environmental shifts.
4. Humidifier
Used when humidity is too low to allow glue to cure properly. Can require constant adjusting throughout the day.
5. Nano Mister
Adds moisture after the set to force curing. Often needed when humidity is inconsistent or too dry.
6. Glue Accelerator
Speeds up adhesive curing when humidity is too low. Can increase the risk of shock curing if not used carefully.
7. Multiple Adhesives
Many artists keep several glues on hand for different seasons, temperatures, or humidity levels.
Bottom line:
Traditional lashing works — but it requires constant monitoring, adjusting, and additional products just to keep adhesive consistent.
What You Need for UV Lashing
UV lashing eliminates humidity-dependent curing entirely. The adhesive cures only when exposed to UV light — not the air.
That changes everything.
1. Hypochlorous Acid (HOCl)
Used to cleanse and prep the lashes safely. Gentle, effective, and replaces multiple prep steps without drying the lashes.
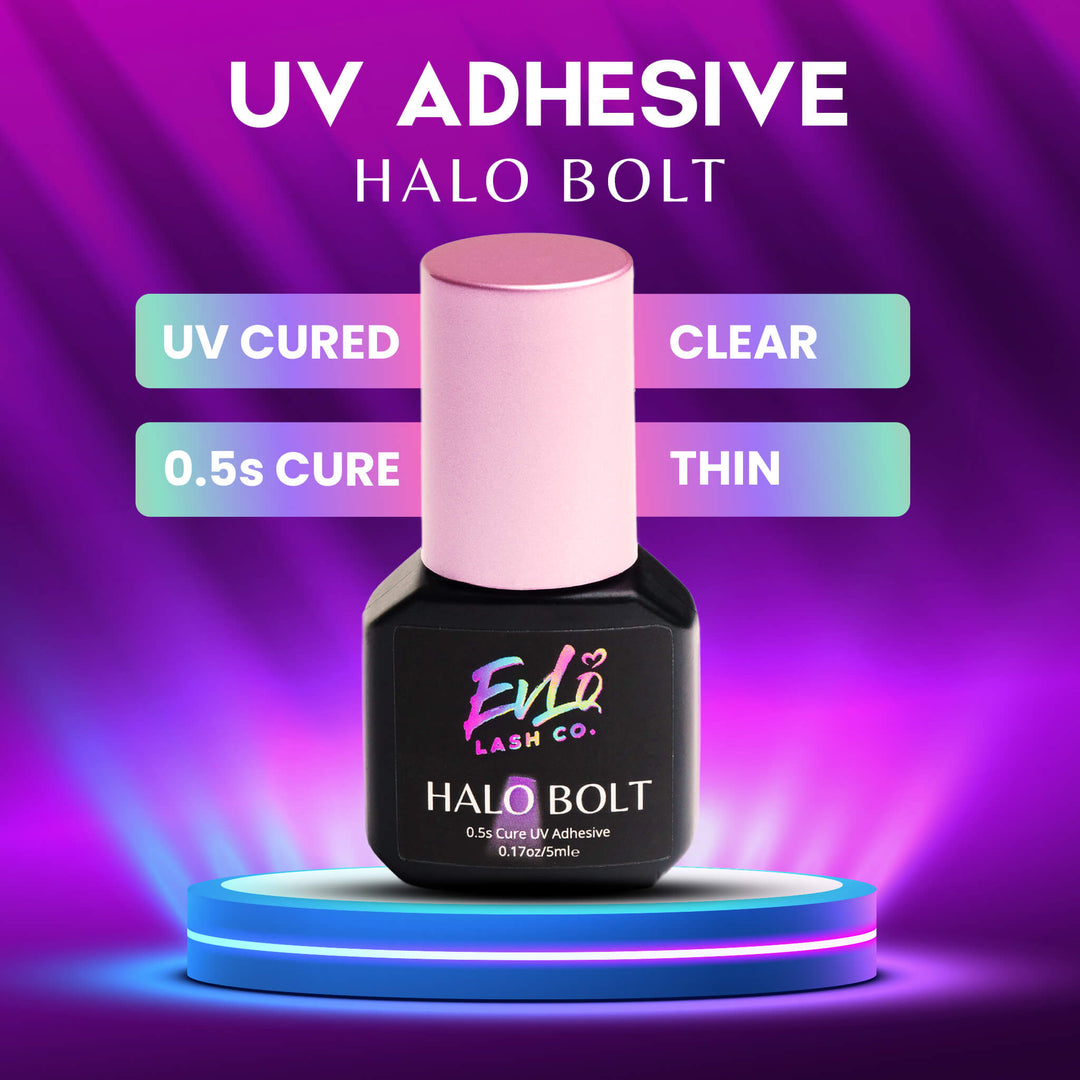
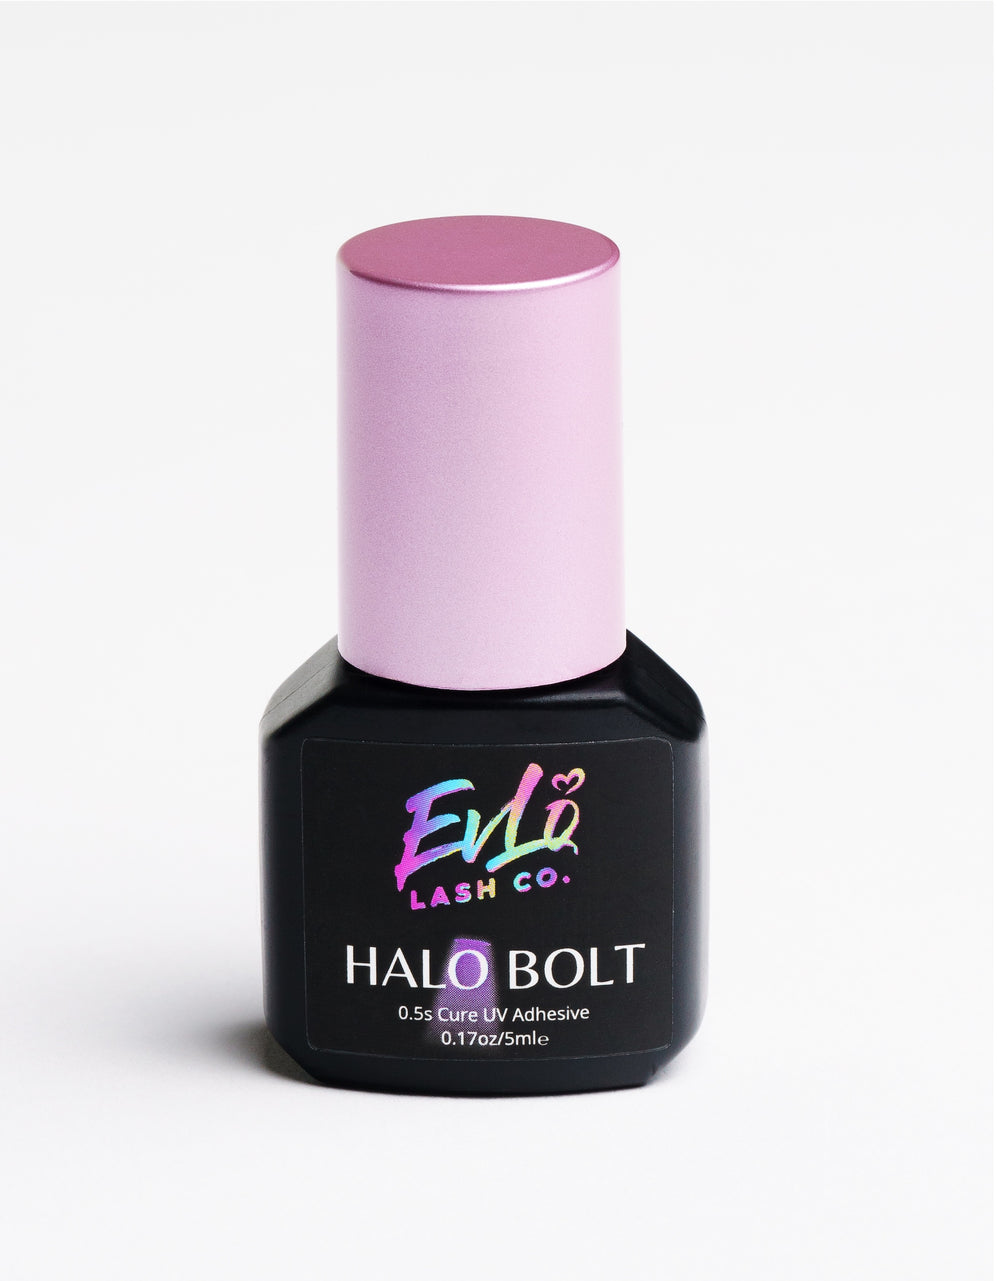
2. UV Adhesive
Designed to remain stable until cured by UV light. No rushing, no stringing, no panic when the weather changes.
3. UV Light
Used with the client’s eye closed, positioned at a safe distance, to instantly cure the adhesive. Once cured, the bond is fully set — no waiting.
That’s it.
No:
- Hygrometer
- Humidifier
- Nano mister
- Accelerator
- Seasonal glue swapping
- Guesswork
Why the Supply Lists Are So Different
Traditional lashing requires support products because the adhesive depends on environmental moisture to cure properly.
UV lashing removes that dependency entirely.
When curing is controlled by light instead of air:
- Temperature and humidity become irrelevant
- Adhesive performance becomes predictable
- Fewer products are needed
- Less room for error
Which Setup Is Right for You?
Traditional lashing is still a solid option and works well when conditions are controlled and consistent.
UV lashing appeals to artists who want:
- Fewer variables
- A simpler setup
- Faster curing
- More consistency year-round
Neither method is “wrong” — but understanding the difference in what you need makes it easier to decide which system fits your workflow.


Leave a comment