
Getting Past the Halo Tweeze Learning Curve: Setup, Pedal Timing, and Light Angle

If you just unboxed your Halo Tweeze and your first set felt clumsier than usual, that does not mean you are using it wrong.
You are changing something that has probably been muscle memory for years. Your tweezer feels a little different in your hand, your light is now moving with you, and your foot has a new job. It takes a little time for all of those movements to start working together.
The good news is that once it clicks, the Tweeze starts to feel much more natural.
Most of the adjustment comes down to three things: where the light sits on your tweezer, when you activate the pedal, and whether the beam is actually reaching the adhesive bond.
Here is how I set mine up, what helped shorten my own adjustment period, and some of the most common issues I hear from artists when they first start using the Halo Tweeze.
What is Halo Tweeze, and why does it feel different at first?
The Halo Tweeze is a tweezer-mounted UV light system designed to bring the curing light directly to the bond you are working on.
It uses a 395 to 405 nm, 1 W UVA light and a wireless foot pedal. The unit weighs about 20 grams and can be used with most tweezer styles, although you may find that certain shapes feel more comfortable with it than others. Our Halo Tweeze Light Kit includes our Biggie isolation tweezer for that reason.
The biggest difference between Tweeze and a stand light like the Halo Focus is that a stand light stays positioned over the lash line.
With Tweeze, the light moves with your hand.
That is also one of its biggest advantages. You can bring the light directly to the bond you just created. But it means your hand position, wrist angle, and the way you approach different areas of the eye now become part of your curing technique.
That is why the first set can feel strange even if you have been lashing for years.
Start by setting it up correctly
Charge it fully before your first set
A full charge can take up to two hours and provides up to approximately 48 hours of use depending on how you are using it.
The light is designed to maintain consistent output as the battery drains rather than gradually becoming dimmer and dimmer.
Also, use the charging cord and adapter included with your Tweeze. Higher-powered charging equipment can affect the battery over time and may void the warranty.
Position the light around how YOU naturally hold your tweezer
This is probably the most important part of the setup.
Do not position the light based on how it looks sitting on the tweezer. Position it based on where the beam lands when you are actually lashing.
Hold your tweezer exactly the way you normally would when placing an extension. Then look at where the light is landing.
You want the beam reaching the adhesive bond at the base of the extension.
If the module sits too far forward, it may interfere with your view or isolation. If it sits too far back or at the wrong angle, the light may illuminate the extension while missing part of the adhesive bond.
Before your first client, place a lash on a practice strip and activate the light. Look at where the brightest part of the beam lands.
Make small adjustments until it naturally hits the bond without requiring you to completely change the way you hold your tweezer.
That tiny setup step can make a HUGE difference.
Put the pedal where your foot already wants to be
Do not make your foot hunt for the pedal all day.
The wireless pedal runs on AAA batteries, so you have the freedom to position it wherever your foot naturally rests while you lash.
Also remember that each foot pedal is individually paired with its corresponding Halo Tweeze. If you work beside other artists who also use Tweeze, keep each pedal with its assigned device.
When should you activate the light?
This is probably the biggest habit change when moving from a traditional UV setup to the Tweeze.
My rhythm is:
Isolate. Dip. Place. Cure.
I want the extension positioned where I want it before I activate the light.
You do not want to activate the light while the adhesive is still moving into position. If UV reaches the adhesive before your placement is complete, you can begin curing before the attachment is where you want it.
Place first. Then cure.
The Tweeze also has a helpful feature built into the pedal. Once you release the pedal, the light remains illuminated for an additional three seconds.
That does not mean you can release the pedal and immediately swing your hand away. The beam still needs to remain positioned over the adhesive for the cure time required by the adhesive you are using.
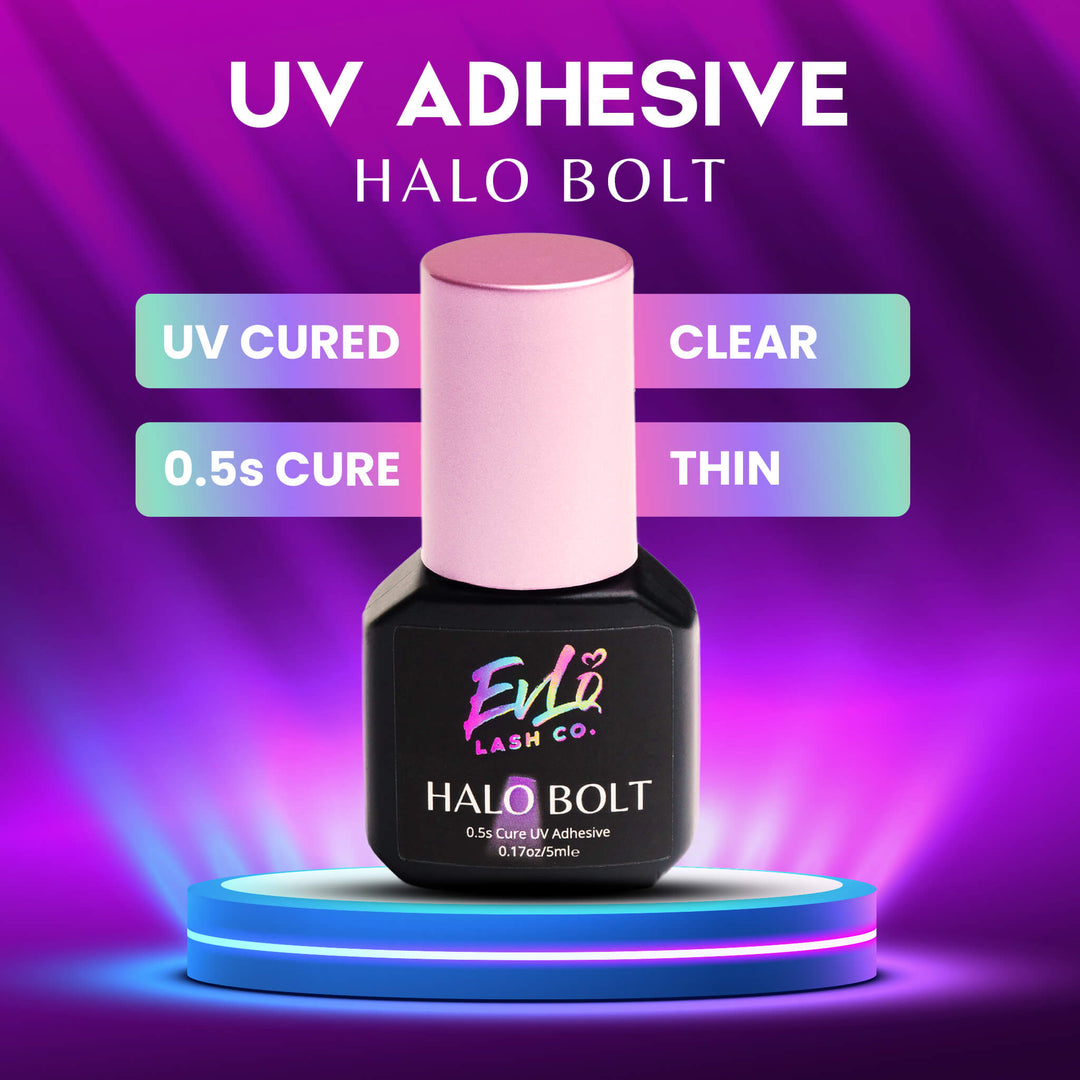
For example, Halo Fuse has a 0.3-second cure time, Halo Bolt has a 0.5-second cure time, and Halo Hush has a 2-second cure time.
The three-second continuation gives you more than enough activation time for our Halo adhesives, but the light still has to actually be reaching the bond during that cure.
That distinction matters.
Especially while you are learning, I recommend getting into the habit of one placement, one cure.
It creates a very predictable rhythm and helps you immediately identify whether your hand position or light angle needs adjusting.
Your angle matters more than you think
One of the biggest things I want artists to understand about the Tweeze is that seeing light does not automatically mean the adhesive bond is receiving the light the way you intended.
Your tweezer, hand, extension, neighboring lashes, and even the angle of the natural lash can create a shadow.
That means you need to think about the bond itself.
In the center of the eye, this is usually easy. Your normal hand position often allows the beam to reach the attachment without much adjustment.
The inner and outer corners are where I want you to pay more attention.
For inner corners, you may need to slightly rotate your wrist or change your approach so your hand or tweezer is not sitting between the light and the adhesive.
Outer corners can require the same type of adjustment. Instead of assuming the light is reaching the bond because you can see the beam, look at the actual attachment point and make sure nothing is obstructing it.
This is especially important with lashes that naturally curve away from your working position.
You are not trying to completely relearn how to lash. You are making small adjustments so the light has a clear path to the adhesive.
Do not use your stand-light distance as your Tweeze distance
This is important.
Different UV lights have different output, beam size, power, and recommended working distances. A Halo Focus sitting 12 or 14 inches away from the eye is not the same thing as a 1 W light mounted directly to your tweezer.
Follow the Tweeze-specific training and instructions for positioning and curing rather than applying the working distance from another UV device.
Distance, angle, exposure time, and light output all work together.
If you want a deeper explanation of why those things matter, read our article on distance, exposure, and UV lashing safety.
Your client's eyes should remain fully closed throughout the service with the appropriate eye pads and protection in place.
The most common first-week mistakes
- Activating the light too early. Place the extension where you want it first, then activate the light. Think: isolate, dip, place, cure.
- The light is interfering with your view. The module may need to be repositioned. Move it until you can clearly see your isolation while still allowing the beam to reach the bond.
- You can see the light, but the bond is not curing correctly. Check the angle. Your tweezer, hand, extension, or neighboring lashes may be creating a shadow between the light and the adhesive.
- Your grip suddenly feels tighter. This one is easy to do without realizing it. Because your tweezer feels different, you may compensate by gripping harder. Pay attention to your hand during those first few sets and consciously relax your grip.
- Moving your hand away too quickly. The three-second light continuation is helpful, but remember that the light moves when your hand moves. Make sure the beam stays on the bond for the required cure time.
- The device appears to stop responding after a pause. Halo Tweeze automatically powers down after approximately two minutes of inactivity to preserve battery life. Press the power button on the body to turn it back on.
- Assuming every tweezer position should work the same way. It probably will not. Your isolation tweezer shape, hand position, and application style are personal. Adjust the light around the way you lash instead of forcing your hand around the light.
What if you want a smaller beam?
The light module on Halo Tweeze is replaceable.
Every Tweeze comes with our Original Wide Beam Light Plug Module, but we also offer a Focus Light Plug Module for artists who prefer a smaller, more targeted illuminated area around the adhesive bond.
Neither option is automatically "better." It comes down to your technique, visibility, hand position, and how precise you want the illuminated area to be.
Give yourself a few sets
This is probably the part I want new Tweeze users to hear the most.
Do not judge it based on your first twenty lashes.
You are taking a skill that is already deeply ingrained in your hands and adding a new piece of equipment to it. Of course it feels different at first.
Focus on the basics.
Position the light so it naturally reaches the bond. Put your pedal where your foot already rests. Place the lash before you activate the light. Make sure the beam has a clear path to the adhesive. Pay extra attention to your angles in the inner and outer corners.
Then give yourself a few full sets for the movements to become automatic.
Once your hand, foot, and light start working together, that awkward feeling begins to disappear.
And if something still does not feel right, do not just keep fighting with it. Send us a photo or short video of how your Tweeze is positioned while you are holding it in your normal lashing position. Sometimes a tiny adjustment to the light placement can completely change how it feels.




Leave a comment