Troubleshooting UV Adhesive Retention Issues: What Lash Artists Need to Know

Let’s be real—when UV lash retention isn’t holding up, it can feel frustrating, confusing, and even a little defeating. If you're using UV glue and still getting clients returning with early fallouts, you’re not alone. As more lash artists are transitioning to UV lashing, it's natural to hit a few speed bumps along the way.
In this post, I’m breaking down the most common UV adhesive retention issues, what might be going wrong, and how to fix it—so you can deliver better results and feel confident using UV systems.
✅ Using UV lashing already? Make sure you're working with the best tools. Check out our UV Adhesives trusted by lash artists worldwide.
What Makes UV Lashing Different?
Before diving into troubleshooting, it’s important to understand that UV adhesives aren’t like traditional lash glues. They cure on demand using a UV LED light, which means they're not humidity dependent and often more consistent—but only if the application process is done correctly.
So if you’re switching from traditional glues and expecting things to work exactly the same, that’s usually where problems start.
Common UV Adhesive Retention Problems (And How to Fix Them)
1. Not Enough UV Light Exposure
If your bond feels weak or lashes pop off within a few days, there’s a good chance the adhesive didn’t get enough light to fully cure. Make sure your light:
-
Is aligned correctly and aimed at the base of the lash extension.
-
Has enough power (some lights just aren’t strong enough!).
-
Is being held for at least the full recommended cure time.
💡 Pro tip: make sure your hands are not in the way casting a shadow and causing the adhesive to not cure or partially cure.
2. Using Too Much (or Too Little) Glue
UV glue should be used sparingly—but not too sparingly. It’s all about finding the right balance. Too much adhesive can cause the lash to be too heavy and hard to remove at fill appointments. Too little, and you’ll miss a strong hold altogether.
👉 Stick with a tiny micro bead—enough to bond, not drown the natural lash.
3. Base Layer Not Clean Enough
Even though UV glue cures with light, oil, makeup, and protein buildup will still mess with your bond. Always:
-
Clean lashes thoroughly with a lash-safe cleanser.
-
Prime only when needed (depending on your client’s lash type). I usually will prime after the lash wash on oily skin clients or if there is too much debris on the lash line.
-
Use lint-free applicators for prepping—no shortcuts here.
💡 Pro tip: Using saline or hypochlorous acid to deep clean the lash line is great for those with a lot of build up even after washing.
4. Adhesive Quality Isn’t Up to Par
Not all UV glues are created equal. A cheap or poorly formulated product won’t perform well no matter how perfect your technique is. If you’ve been testing different brands and still not seeing long-lasting results, it might be time to upgrade your glue.
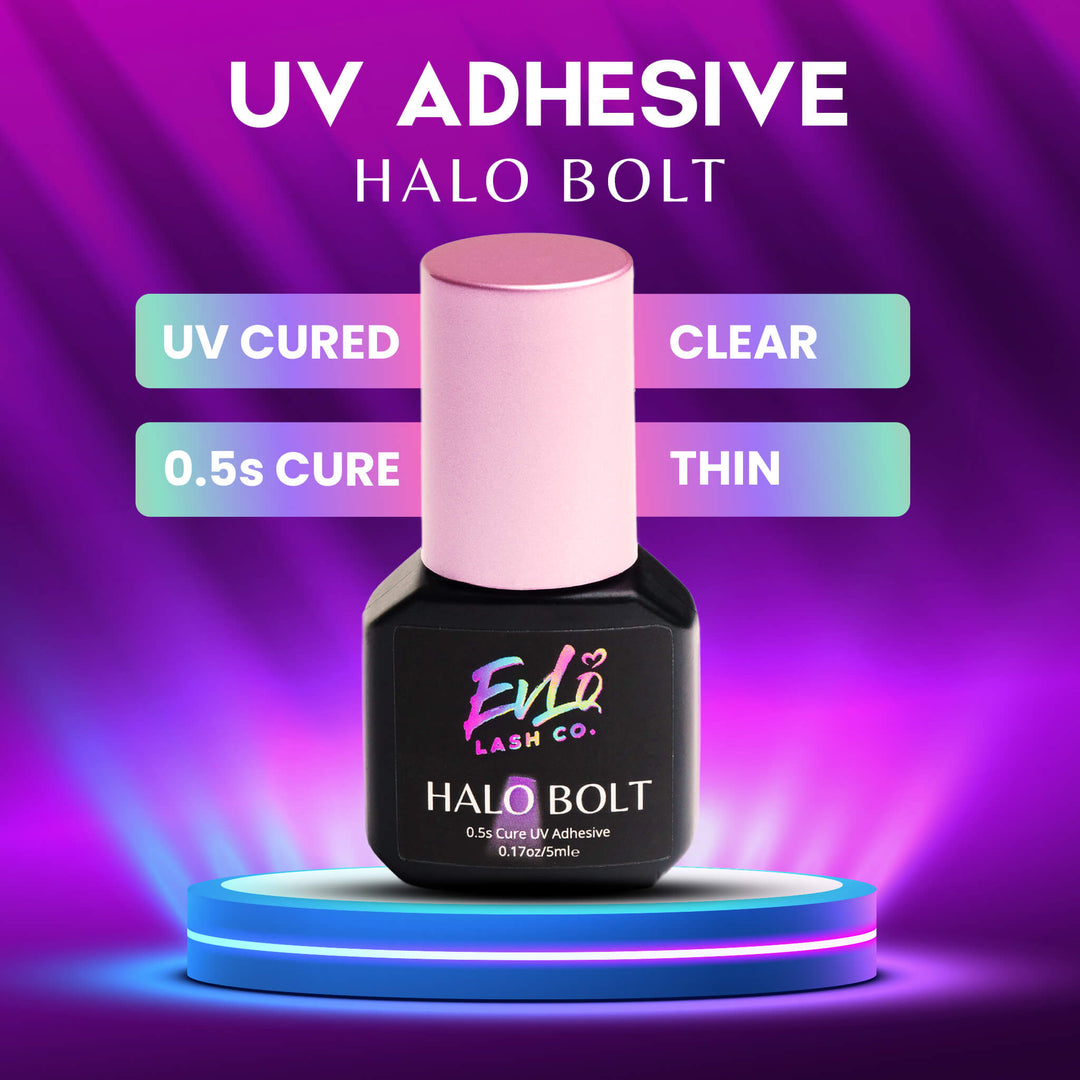
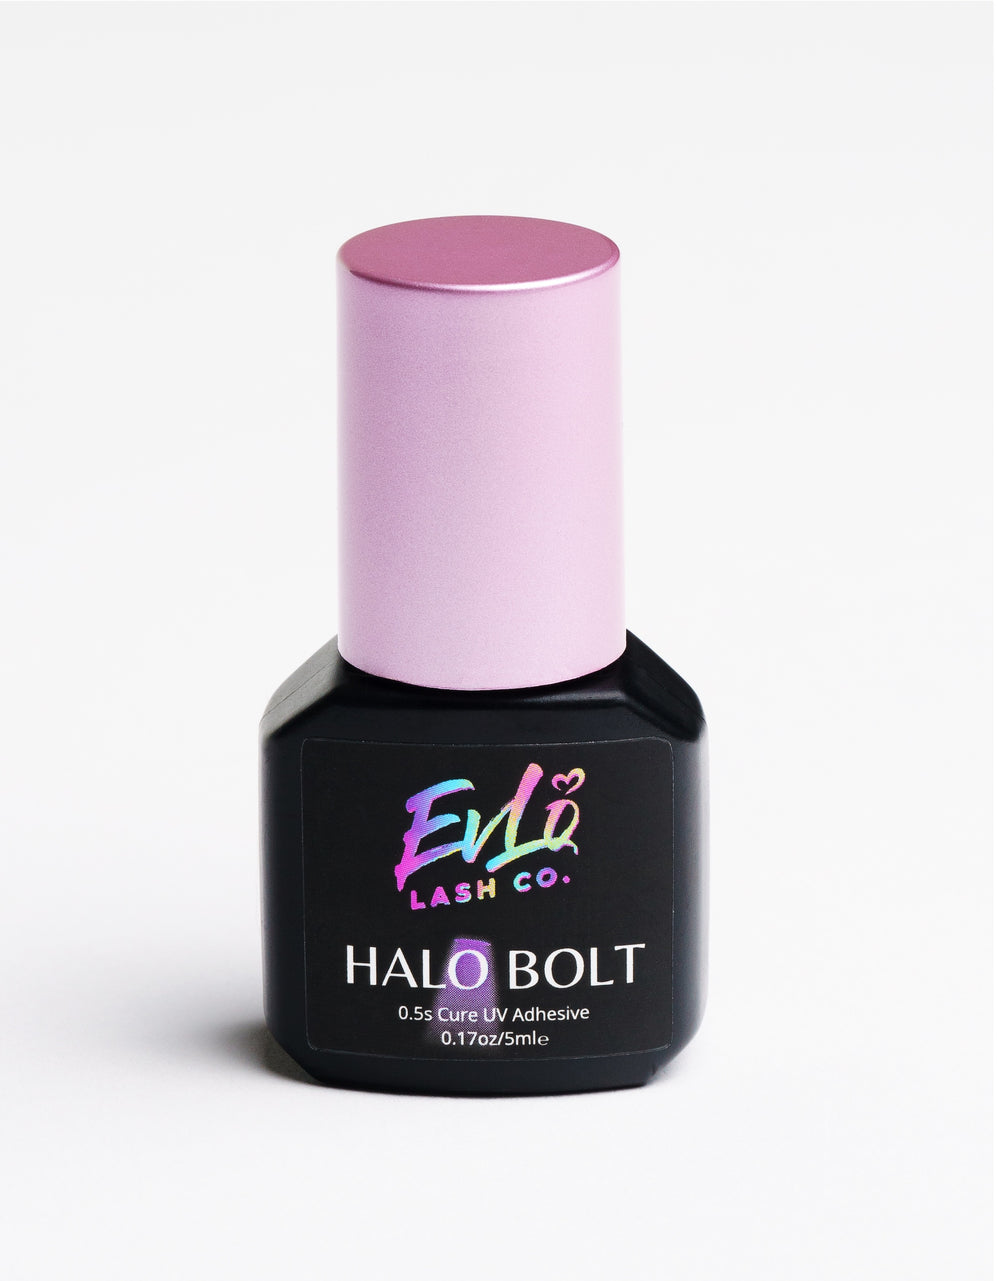
🎯 Try our Halo BOLT UV Adhesive—specifically formulated for superior hold and instant cure under UV light.
5. Inconsistent Application Speed
One of the perks of UV lashing is that you can take your time during application, but because it is not dependent on humidity doesn't mean its not immune to the effects of the environment. If you are dipping and taking multiple seconds to place, the outside of the glue can start to dry, causing a barrier of attachment. Try to keep a smooth, repeatable rhythm:
-
Isolate
-
Dip
-
Place
-
Cure (immediately!)
⏱️ Get in the habit of following a steady flow per lash—your future self will thank you.
6. Lash Attachment
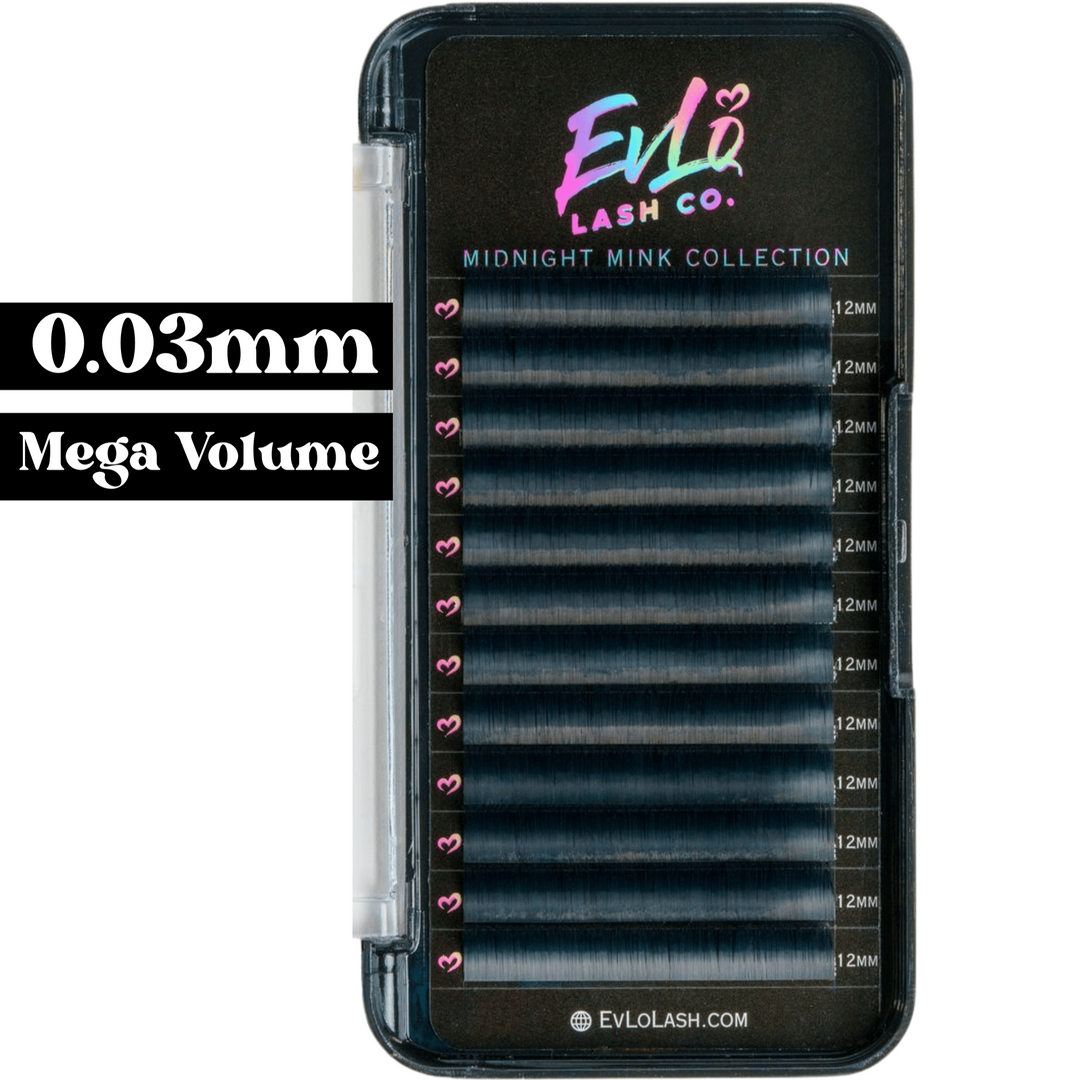
When lashing with the UV system, especially if you are using promade fans, retention could still be an issue. Adjusting your attachment placement can help you achieve better retention. Instead of placing on top of the natural lash, try placing underneath the natural lash. Alternatively, if you are using fans that are too big for the natural lash, you may have issues with retention no matter what the attachment location is. Try this technique:
- Dip your fan 2mm into the adhesive, make sure there is a small bead of adhesive
- Place underneath the natural lash, before curing brush up and down the natural lash just about 1mm to disperse the adhesive evenly.
- Cure
❓ If you are unsure if your lash fans you are using are the proper dimension for your client, ensure you are certified in volume and mega volume lashing. This will ensure you have the proper understanding of how many fibers per fan are appropriate for a natural lash.
Final Thoughts: UV Lashing Isn’t the Problem—Technique Is
If you’re having trouble with UV adhesive retention, don’t give up. Most of the time, the issue lies in small technique adjustments—not the glue itself. UV lashing is incredibly powerful when done right, and once you’ve dialed in your process, your sets will last beautifully.
And if you’re still on the hunt for a high-performance UV adhesive that actually delivers? Don’t sleep on our bestselling Halo BOLT UV Adhesive. It’s been a game-changer for so many lash artists in our community.


Laissez un commentaire